DrinksMix.Net - Easy and Simple Drink Recipes
Chocolate Hazelnut Cocoa Recipe-How to Prepare Chocolate Hazelnut Cocoa for a Rich, Creamy Drink at Home
Try our easy Chocolate Hazelnut Cocoa recipe for a rich and creamy treat. Perfect for chilly nights or as a delightful dessert!
Essential Ingredients for Chocolate Hazelnut Cocoa Recipe
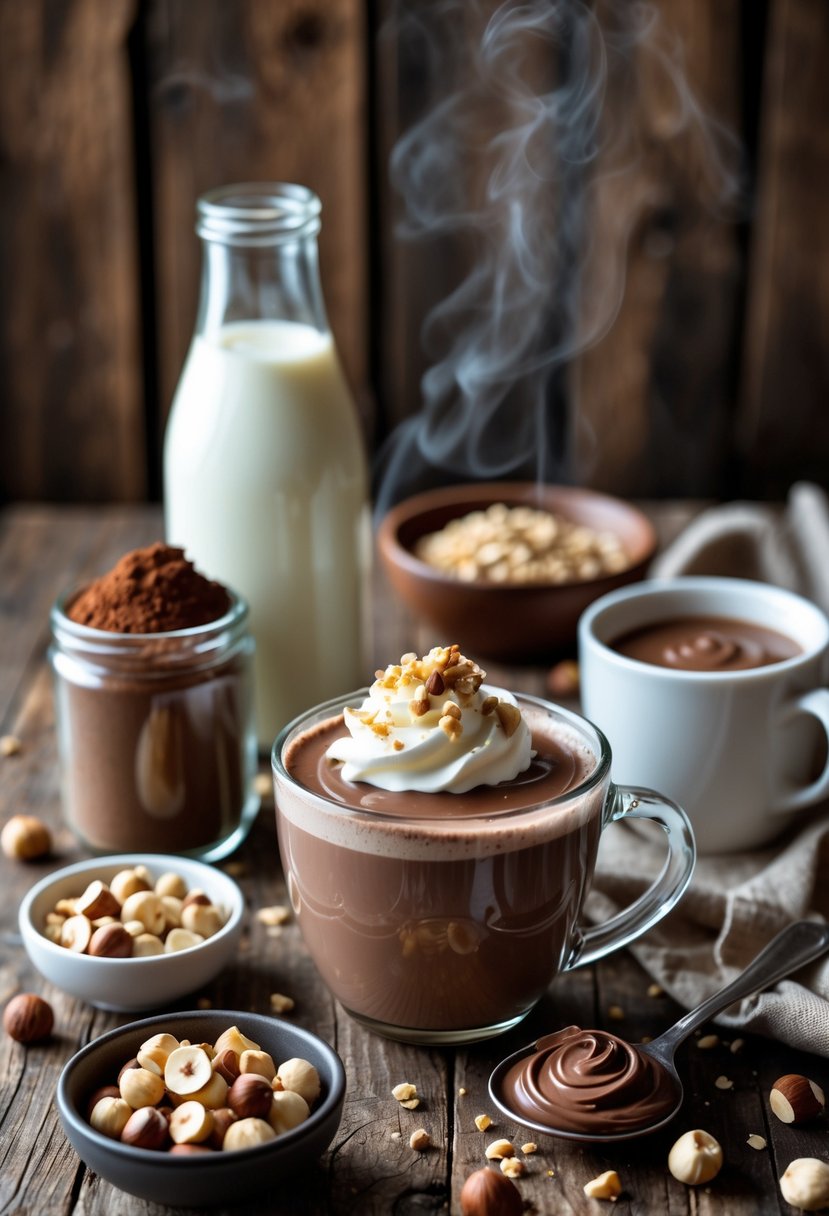
To get that rich, balanced Chocolate Hazelnut Cocoa recipe, you’ll want to pay attention to three main ingredients: hazelnuts, cocoa powder, and your sweetener of choice. Each one really shapes the taste and texture, so don’t skimp on quality.
Choosing Quality Hazelnuts
Start with fresh hazelnuts if you can. Pick ones that feel firm—skip any that look cracked or have spots of mold.
Roasting them yourself at home brings out their oils and makes the flavor pop. It’s worth the extra step if you have time.
If you’re in a rush, pre-roasted hazelnuts work, but try to avoid any with added salt or flavorings. Grinding them super fine or using a hazelnut paste turns your cocoa smooth and creamy.
Store your hazelnuts in an airtight container somewhere cool and dry. That way, they’ll stay fresh and won’t go bitter.
Types of Cocoa Powder
Cocoa powder makes or breaks the drink. Always go for unsweetened cocoa powder if you want deep chocolate flavor without extra sugar.
You’ll see two main kinds: natural and Dutch-processed. Natural cocoa is more acidic and a bit bitter—good if you like a sharper taste. Dutch-processed is smoother, less tangy, and honestly, it’s often better for hot cocoa.
Pick a brand that’s dark and smells chocolatey. The better the cocoa, the richer your drink will be. To elevate your experience, consider adding a pinch of cinnamon and a splash of vanilla extract. These flavors will complement the cocoa, creating a decadent drink that warms the soul. If you’re looking for inspiration, try a traditional Mexican hot chocolate recipe for an irresistible twist.
Selecting Sweeteners
Sweetener balances out the cocoa’s bitterness and hazelnut’s earthy notes. You’ve got options—white sugar, brown sugar, honey, or maple syrup all work.
Brown sugar or maple syrup adds a nice caramel vibe that pairs well with the nuts. If you’re after a cleaner, straightforward sweetness, stick with white sugar.
Start with a little and add more if you need it. Natural sweeteners like honey or maple syrup bring a bit of extra flavor and maybe even a few nutrients.
Just adjust until it tastes right to you. The sweetener should lift the other flavors, not drown them out.
Step-By-Step Preparation Guide
Making Chocolate Hazelnut Cocoa isn’t hard, but it does take a little attention to detail. The steps are roasting the hazelnuts, blending them, mixing in cocoa and sweetener, and then making it all silky and smooth.
Roasting and Skinning Hazelnuts
Spread the hazelnuts out on a baking sheet in a single layer. Pop them in a preheated oven at 350°F (175°C) for 10–15 minutes.
Keep an eye on them—they can burn fast. Roasting helps bring out flavor and makes it easier to get the skins off.
Once they’re done, dump the nuts onto a clean kitchen towel. Rub them together in the towel to loosen the skins.
Don’t stress if some skin sticks; it won’t ruin the taste. Skinning helps cut down on bitterness.
Now your hazelnuts are prepped for blending.
Blending with a Food Processor
Put the roasted, skinned hazelnuts into your food processor. Pulse a few times to break them up.
Let the processor run, stopping to scrape the sides as needed. The nuts will turn from crumbs to a thick paste, and eventually into a smooth butter.
This can take anywhere from 5 to 10 minutes, depending on your processor. Be patient—smoothness is key.
You want a creamy hazelnut butter, no big chunks left.
Incorporating Cocoa Powder and Sweeteners
Add sifted unsweetened cocoa powder to your hazelnut butter. Start with about 2 tablespoons per cup of nuts, then tweak as you go.
Add your sweetener—powdered sugar, honey, or maple syrup are all good choices. Mix everything right in the processor, or move it to a bowl and stir by hand.
The goal is to get the cocoa and sweetener blended in evenly. Taste and adjust until it’s just right for you.
Achieving a Smooth and Creamy Texture
You’re after a glossy, spreadable mix. If it’s too thick, add a splash of warm milk or a dairy-free option.
Go slow with the liquid—you don’t want it runny. Use the processor on low or a hand mixer to blend it smooth.
A pinch of salt can wake up the flavors, too. When it’s velvety and rich, you’re good to go.
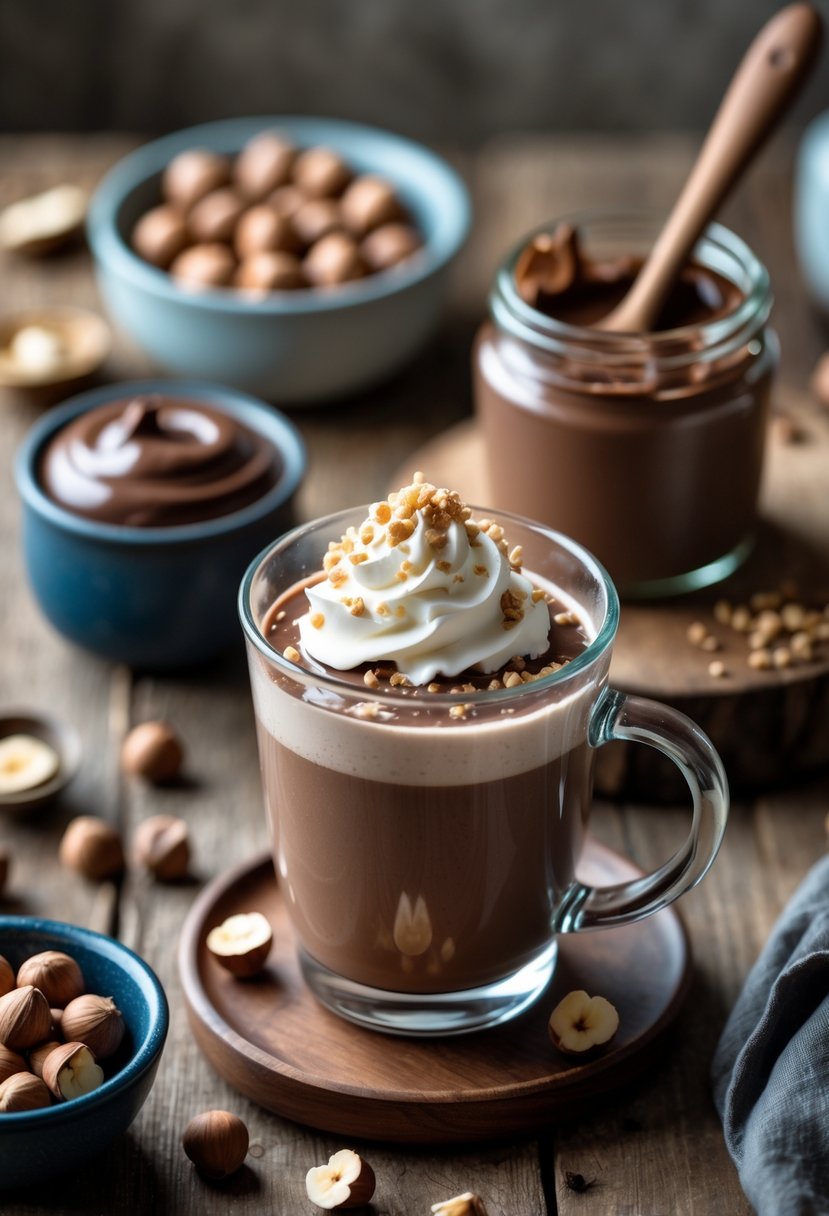
Flavor Enhancements and Variations

Want to mix things up? There are a few simple ways to boost flavor or make your cocoa even creamier. Consider adding a pinch of cinnamon or nutmeg for a warm, festive twist that enhances the chocolatey goodness. If you’re in the mood for something unique, try incorporating a splash of vanilla extract or even a dollop of whipped cream for extra richness. For a delightful seasonal treat, follow the gingerbread hot cocoa preparation for a spiced version that will surely impress.
Even tiny tweaks can really change the whole experience.
Adding Vanilla Extract and Sea Salt
Vanilla extract brings a warm, sweet edge that works so well with chocolate and nuts. About half a teaspoon per cup is enough.
Add it after heating so the flavor stays strong.
A pinch of sea salt deepens all the flavors and keeps things from getting too sweet. You can stir it in or just sprinkle some on top.
Both add complexity without much effort. Sometimes simple is best, right?
Including Melted Chocolate or Chocolate Chips
Melted chocolate or chocolate chips make your cocoa richer and creamier. Use good dark or milk chocolate—whatever you like best.
Melt slowly, either on the stove or in the microwave, and stir until smooth. Chocolate chips melt fine in hot milk, too.
Add 1 to 2 tablespoons per serving for extra depth. If some chips don’t fully melt, you’ll get a bit of texture, which is actually kind of nice.
This trick thickens the drink and makes it feel extra indulgent.
Alternative Oils: Hazelnut Oil and Canola Oil
Hazelnut oil amps up the nutty flavor. Just a few drops do the trick, and it’s best stirred in at the end.
Canola oil is more neutral—one teaspoon per cup will make the cocoa silkier without changing the taste.
Both help with texture. If you really want that hazelnut kick, go for the hazelnut oil.
Serving and Storing Chocolate Hazelnut Cocoa
Keeping your chocolate hazelnut cocoa recipe fresh is important, and there are plenty of fun ways to serve it. The right storage keeps the flavors bold, and a little creativity makes serving more fun.
Proper Storage Methods
If you made your cocoa from scratch or moved it from the store container, use an airtight jar or tub. Store it somewhere cool and dark, away from heat or sunlight.
If your version uses homemade Nutella or has dairy, definitely keep it in the fridge. Seal it tight so it doesn’t pick up weird fridge smells.
Warm it gently before serving if it’s been chilled—nobody likes cold, hard cocoa.
Try not to store it where temperatures swing a lot, since that can cause separation. If you used confectioner’s sugar, keep it dry to avoid clumps.
We hope you like this Chocolate Hazelnut Cocoa Recipe. Enjoy more recipes like this here.